Posture Test at Home: 4 Checks With a Wall, a Side Photo, a Mirror and One Leg
How to check your posture at home in about five minutes: a 30-second wall test, one side photo, a front mirror check and a one-leg stand. What each one shows, a checklist to repeat in four weeks, and what a home test can't tell you.
Short answer: You can test your posture at home with four quick checks: a wall, one side photo, a mirror and a one-leg stand. Together they show whether your head sits forward, your shoulders round, your hips tilt or your knees cave in. They are self-checks, not a diagnosis. Write down what you see, then repeat the same four checks in four weeks.
Hi, I'm an editor on the Bodycheck Care team. This year I finally hung a full-length mirror in my hallway. I check my outfit in it every morning, and one day it hit me: I only ever see myself from the front. My side, where a forward head or rounded shoulders actually show, never makes it into that mirror.
So I put together the four checks I now use, in one place. A wall, a phone, a mirror and your own two legs. The whole thing takes about five minutes. Each check below also links to a more detailed guide on this blog, so think of this post as the starting point for all of them.
How do you check your posture against a wall?
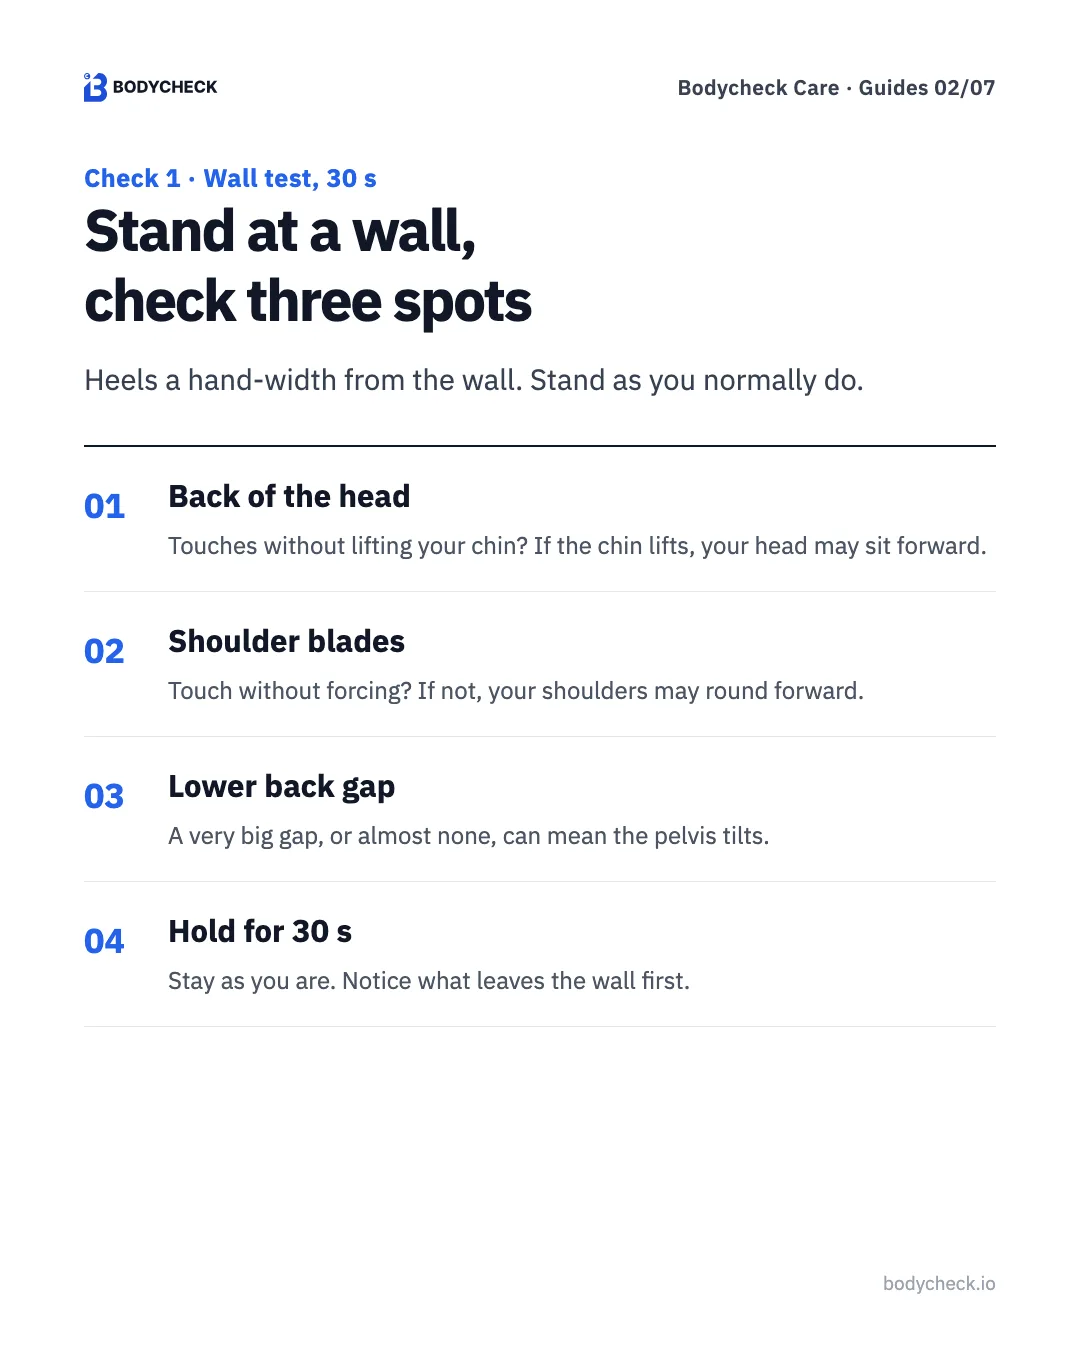
Stand with your heels a hand-width from the wall and let your body settle the way it usually does. Don't straighten up on purpose. Then check three spots for 30 seconds.
- Back of the head. Does it touch the wall without lifting your chin? If you have to tip your chin up to reach, your head may sit forward.
- Shoulder blades. Do they touch without squeezing? If they stay off the wall, your shoulders may round forward.
- Lower back gap. Slide a hand behind your lower back. A very big gap, or almost none, can mean the pelvis tilts.
Also notice what leaves the wall first as the 30 seconds go by. For a closer look at the head, see the forward head posture self-check.
What can one side photo show you?
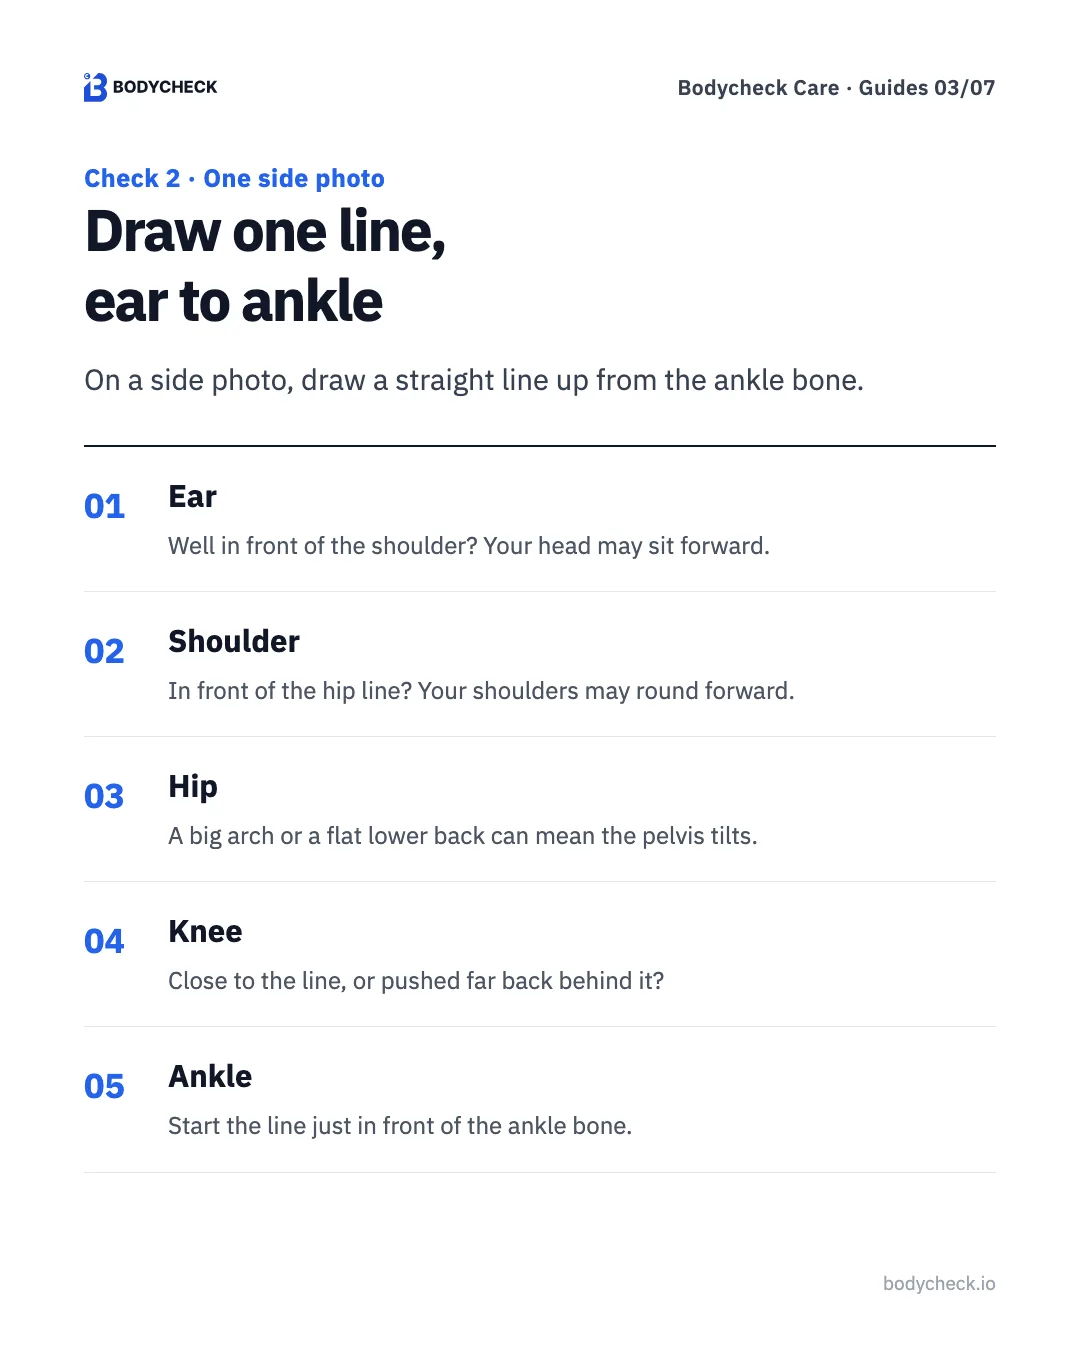
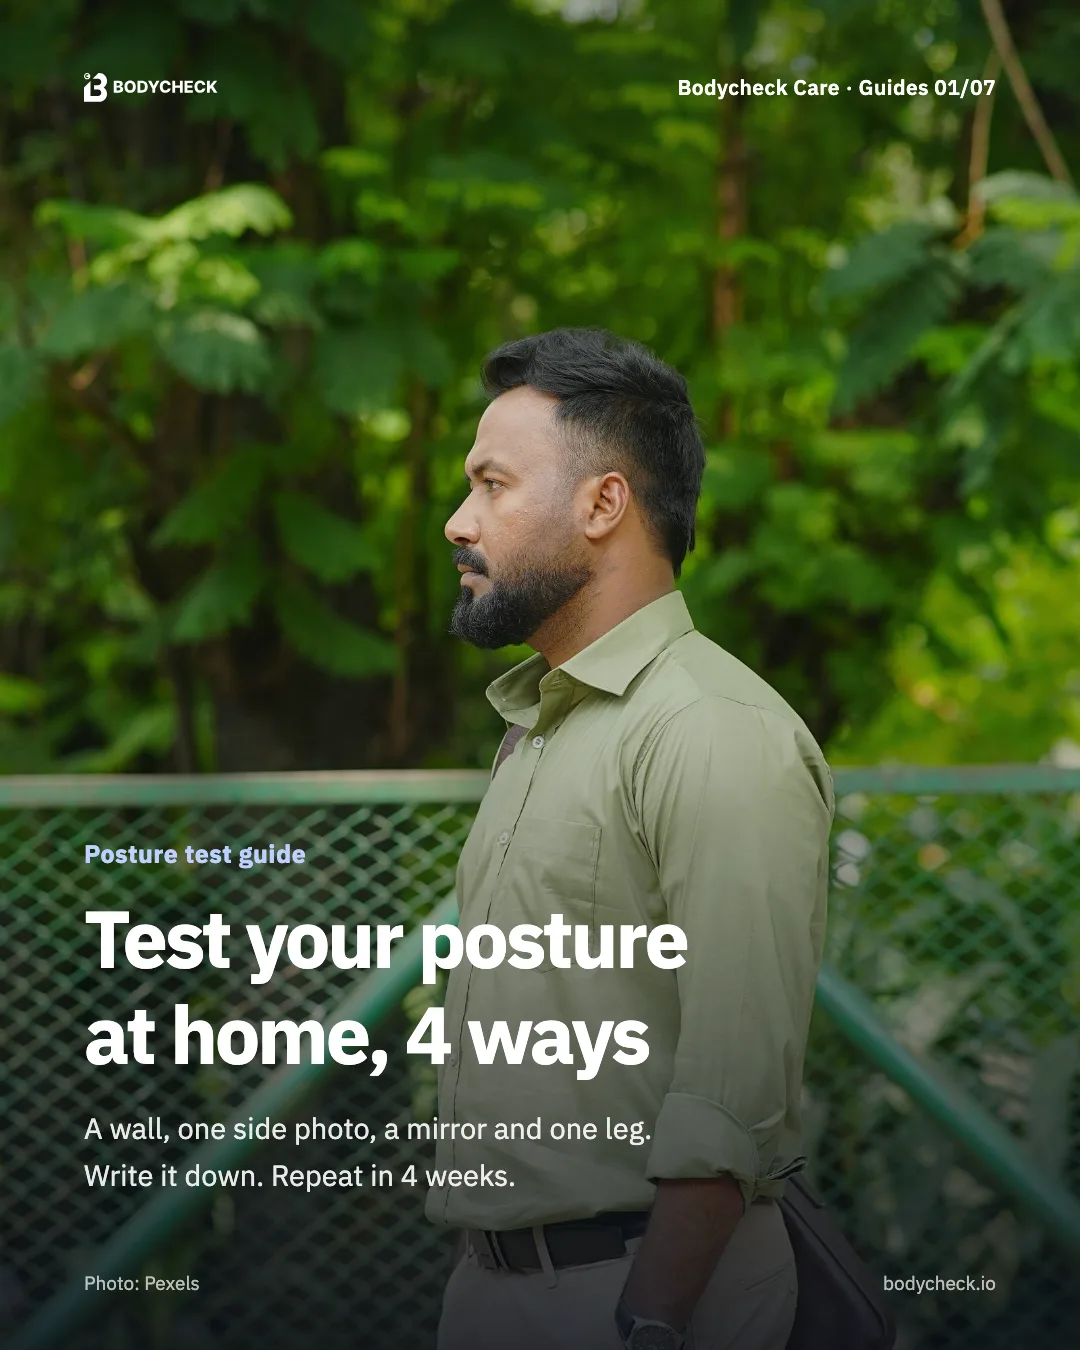
This is the check my hallway mirror can't do. Set your phone at waist height, about 2 to 3 meters away, and use the timer or ask someone to take it. Stand side-on, the way you normally stand, in fitted clothes with your whole body in the frame.
Open the photo and use the markup tool to draw a straight line up from just in front of your ankle bone. Then see where each point sits.
| Point | What to look for |
|---|---|
| Ear | Well in front of the shoulder? Your head may sit forward. |
| Shoulder | In front of the hip line? Your shoulders may round forward. |
| Hip | A big arch or a flat lower back can mean the pelvis tilts front to back. |
| Knee | Close to the line, or pushed far back behind it? |
| Ankle | The starting point of the line. |
If your shoulders sit in front of the line, the rounded shoulders exercises at home guide goes deeper. If the hip is what stands out, see the pelvic tilt self-check.
What should you look for in a front mirror?
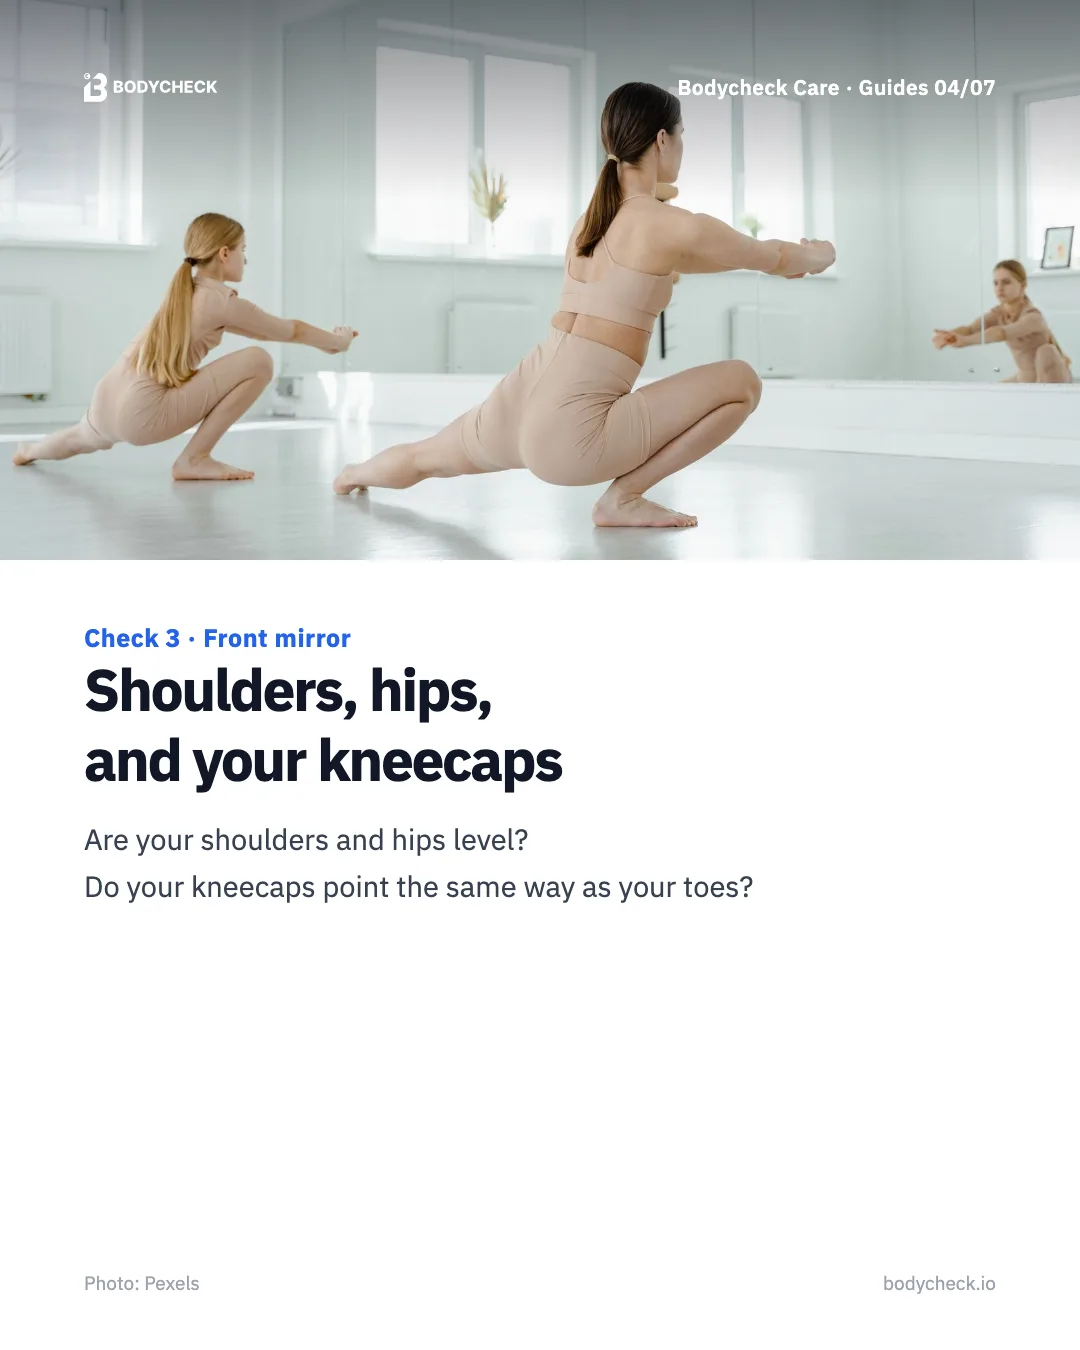
Now face the mirror, feet about hip-width apart, arms relaxed. Check three things.
- Shoulders. Are they at the same height? Look at the top of each shoulder, not your collar.
- Hips. Rest your hands on the bony points at the front of your hips. Do your hands sit level?
- Kneecaps. Do they point the same way as your toes, or do they turn in toward each other?
For the shoulders, the uneven shoulders self-check has more detail. For the knees, try a slow half squat in front of the mirror and see whether they stay over your toes, as in the knee alignment self-check.
Why stand on one leg for 30 seconds?
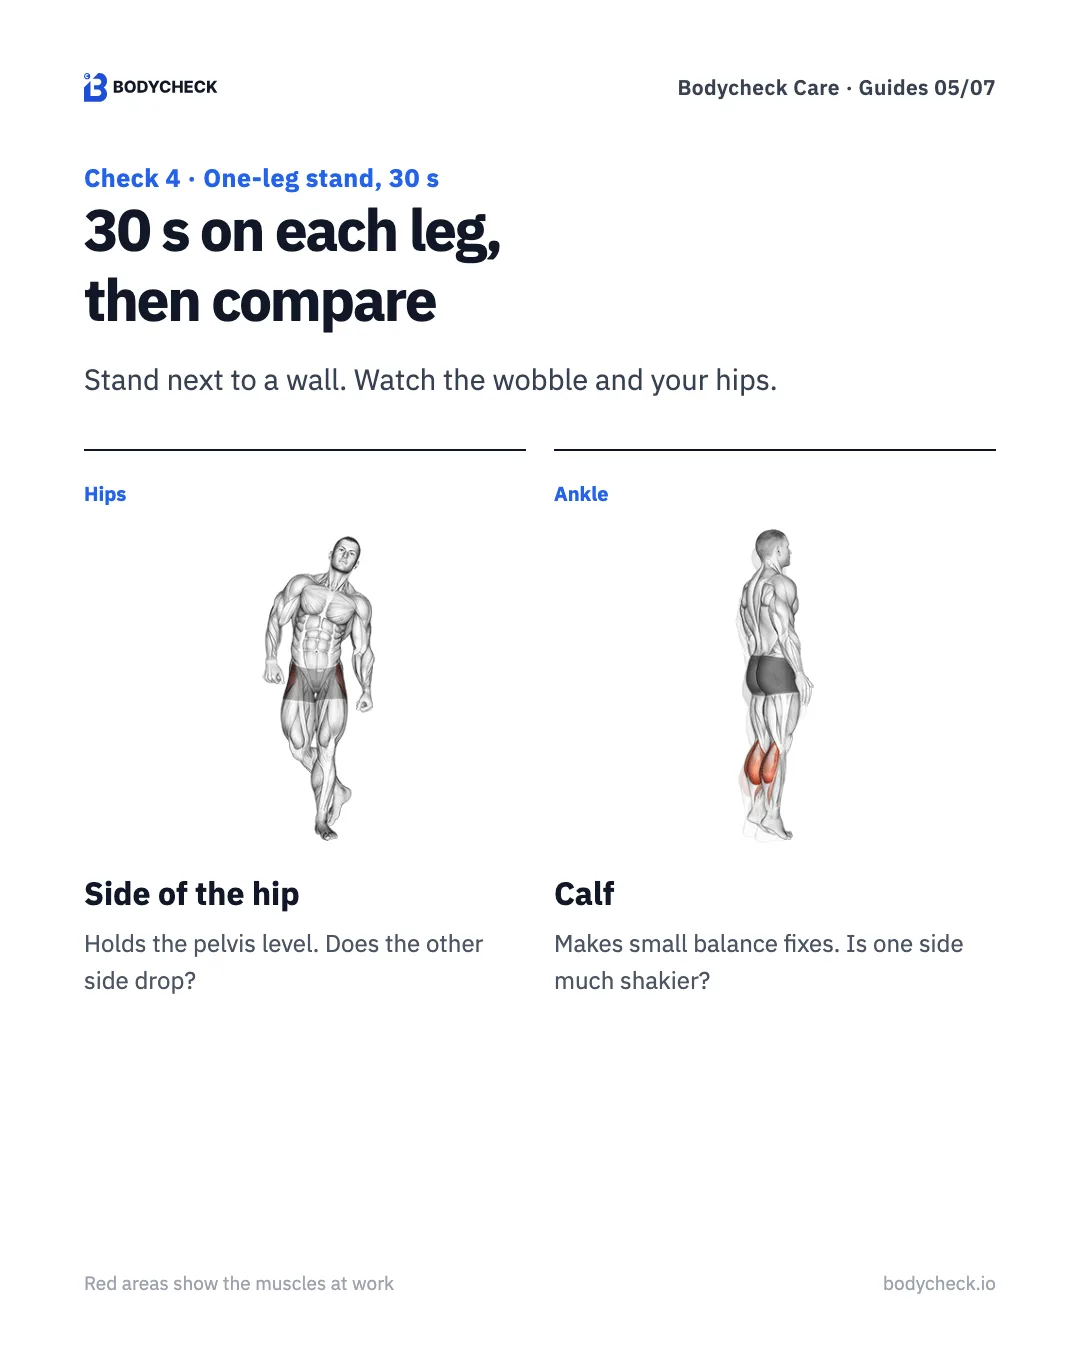
The first three checks look at you standing still on two feet. This one adds balance. Stand next to a wall or a chair back, eyes open, and lift one foot off the floor. Try 30 seconds on each side.
- Hips: Does the hip on the lifted-leg side drop? The side of the hip on your standing leg is what keeps the pelvis level.
- Knee: Does the standing knee cave inward?
- Wobble: Is one side much shakier, or do you put your foot down sooner on one side?
Write down how long you held each side. If you lose balance easily, keep your fingertips on the wall the whole time. A small side-to-side difference is common. A big one is worth noting.
Your checklist to repeat in 4 weeks
Write today's date and your notes next to each item, then come back to the same list in four weeks.
- Wall: back of the head touches without lifting the chin
- Wall: shoulder blades touch without squeezing
- Wall: lower back gap is not very big or almost gone
- Side photo: ear sits close to the line, not well in front of the shoulder
- Side photo: shoulder sits close to the hip line
- Mirror: shoulders look level
- Mirror: hips look level
- Mirror: kneecaps point the same way as the toes
- One-leg stand: 30 seconds on the left, hips stay level
- One-leg stand: 30 seconds on the right, hips stay level
Next time, use the same spot, the same clothes, the same time of day and the same phone height. Otherwise you end up comparing the setup instead of yourself.
What can't a home test tell you?
A home test shows patterns, not causes. It can tell you that your head seems to sit forward. It can't tell you why.
- What you see depends on the setup. Loose clothes, a different light or a phone held low can make the same body look different.
- It's a rough look. A line drawn on a photo is a guide, not a measurement.
- Some things come first. If you have pain or numbness, notice a sudden change in how you stand, or see a big difference between your left and right sides, see a doctor before you start exercising.
How can you see all four as numbers?
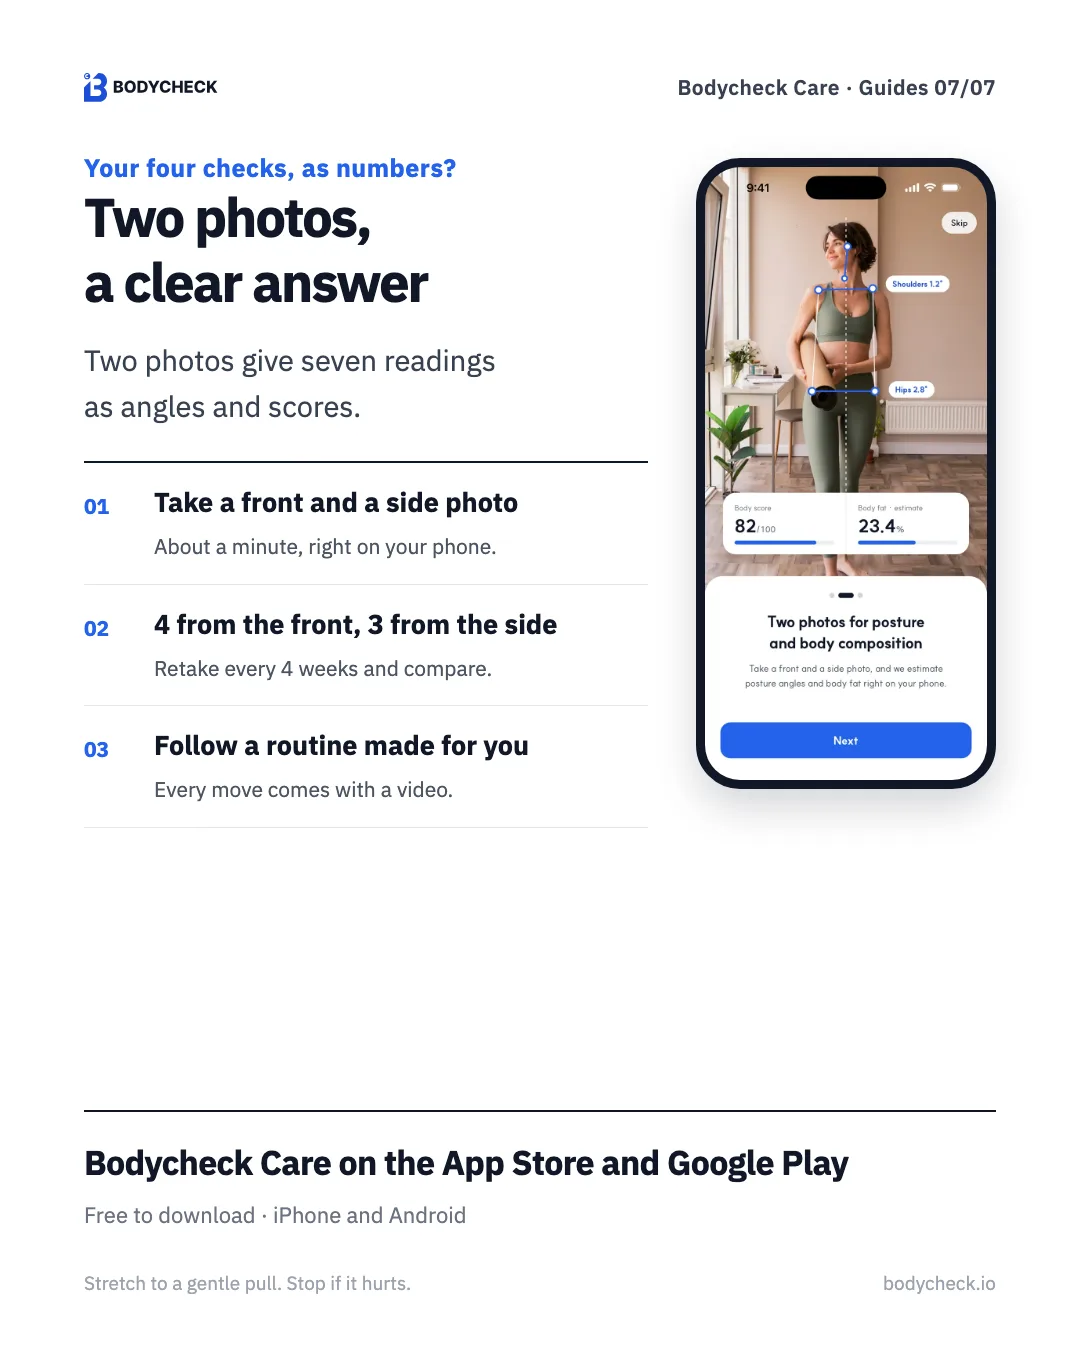
The checks above give you a yes or a maybe. If you want numbers you can compare next month, Bodycheck Care uses a front and a side photo and gives you seven readings as angles and scores.
- From the front: head tilt, shoulder balance, hip balance and knee balance.
- From the side: how far your head sits forward, how far your shoulders sit forward, and how your pelvis tilts front to back.
- Get the app and take a front and a side full-body photo.
- See the seven readings as angles and scores.
- Follow moves picked for your result, each with a video.
- Retake the photos after four weeks and compare.
It's free on iPhone and Android. It isn't a medical device. It's a more consistent way to do the same look you just did with a wall and a mirror.
Bodycheck Care · Free
Turn your posture test into seven numbers, from two photos
Take a front and a side photo to see how far your head and shoulders sit forward as a score, then follow moves picked for your result, each with a video.
A 10-minute whole-body routine
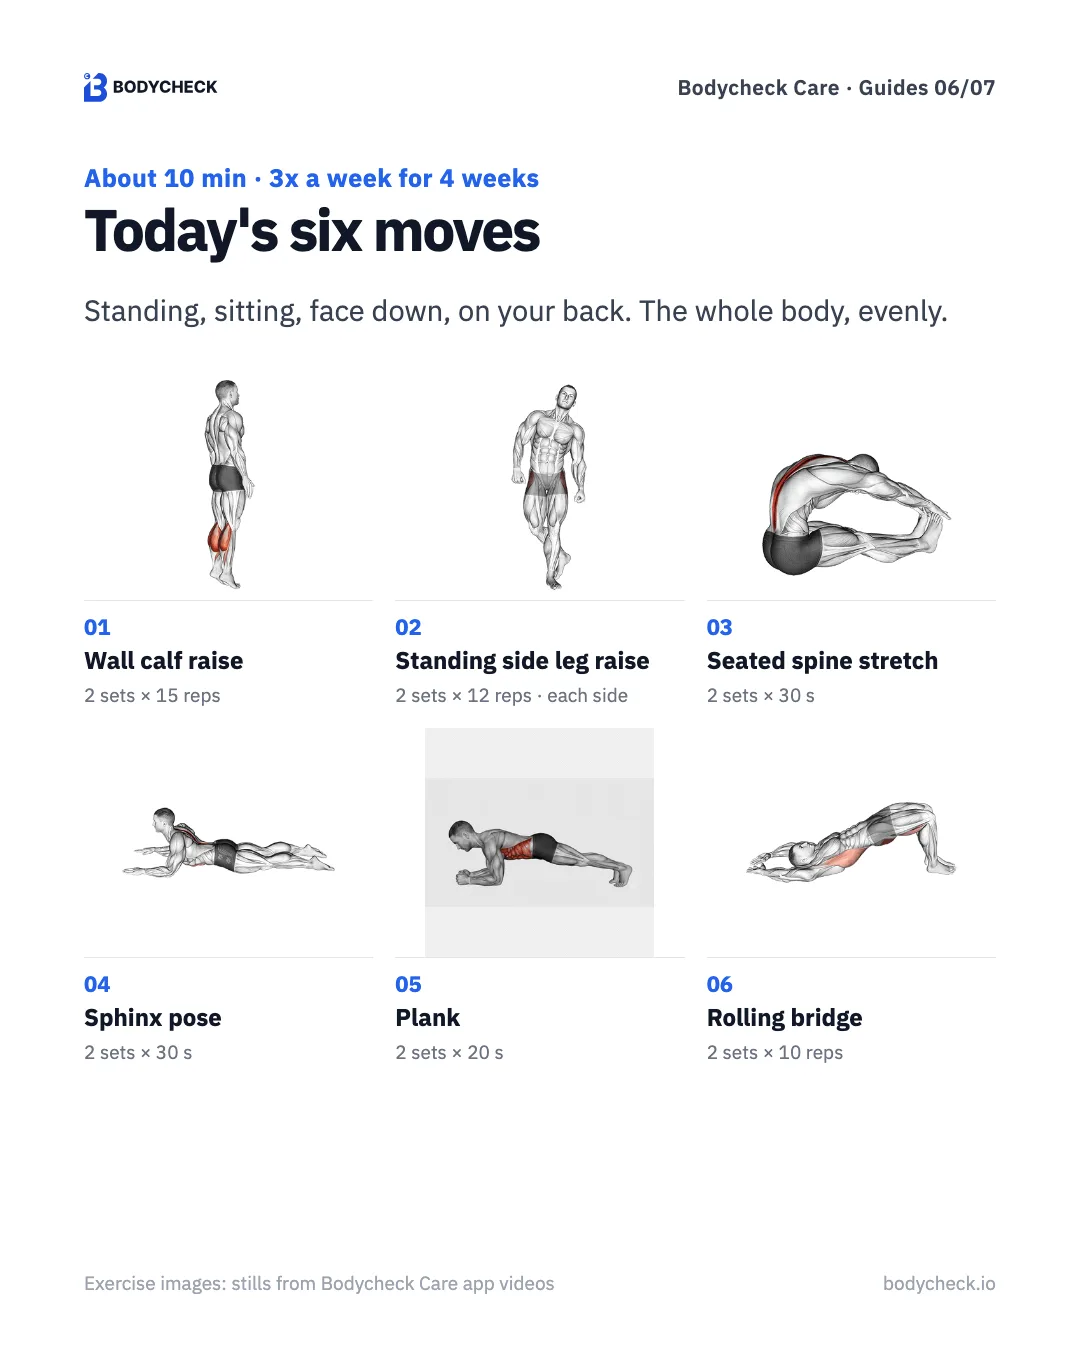
Whatever your checks showed, these six moves give the whole body a balanced start: calves and the side of the hip for the one-leg stand, the spine and upper back for the wall and side photo, and the core and pelvis for the hips. Two standing, one sitting, two face down and one on your back. Do it three times a week on alternate days, for four weeks, then run the four checks again.
1. Wall calf raise · 2 sets × 15 reps
- Put your hands on a wall, feet shoulder-width apart.
- Shift your weight onto the balls of your feet and lift your heels.
- Pause one second at the top.
- Lower slowly. Repeat 15 times.
2. Standing side leg raise · 2 sets × 12 reps · each side
- Stand tall. Hold a wall with one hand if needed.
- Without leaning your trunk, lift one straight leg out to the side.
- Lift only as high as the side of your hip tightens, then lower slowly.
- After 12 reps, switch sides.
3. Seated spine stretch · 2 sets × 30 s
- Sit with legs straight and arms reaching forward.
- Sit tall first.
- Breathe out and roll your head and back forward one section at a time.
- Hold 30 seconds, then roll back up slowly.
4. Sphinx pose · 2 sets × 30 s
- Lie face down with your elbows right under your shoulders.
- Brace your stomach lightly and lift your chest off the floor.
- Keep your neck long and your eyes on the floor just ahead.
- Hold 30 seconds, then lower slowly.
5. Plank · 2 sets × 20 s
- Lie face down with elbows under your shoulders.
- Lift onto your toes so your body forms a line from head to heels.
- Brace your stomach and glutes and keep breathing.
- Hold 20 seconds. If that's too much, keep your knees on the floor.
6. Rolling bridge · 2 sets × 10 reps
- Lie with knees bent and arms by your sides.
- Tuck your pelvis slightly to flatten your lower back.
- Lift from your tailbone up, one section at a time, into a bridge.
- Roll back down the same way, back first. 10 reps.
At a glance
| # | Move | Sets |
|---|---|---|
| 1 | Wall calf raise | 2 × 15 reps |
| 2 | Standing side leg raise | 2 × 12 reps · each side |
| 3 | Seated spine stretch | 2 × 30 s |
| 4 | Sphinx pose | 2 × 30 s |
| 5 | Plank | 2 × 20 s |
| 6 | Rolling bridge | 2 × 10 reps |
In Bodycheck Care every move has a video, and the app counts the time and sets for you.
Frequently asked questions
How do I check my posture at home? Do four quick checks: stand against a wall for 30 seconds, take one side photo, look at yourself in a front mirror, and stand on one leg for 30 seconds on each side. Together they show whether your head sits forward, your shoulders round, your hips tilt or your knees cave in. Write down what you see and repeat in four weeks.
How do I check my posture against a wall? Stand with your heels a hand-width from the wall and stand as you normally do. Check whether the back of your head touches without lifting your chin, whether your shoulder blades touch without forcing, and how big the gap behind your lower back is. Hold for 30 seconds and notice what leaves the wall first.
Can I check my posture with my phone? Yes. Set the phone at waist height, stand side-on and take one full-body photo, then draw a straight line up from just in front of your ankle bone and see where your ear, shoulder, hip and knee sit. Bodycheck Care, a free app for iPhone and Android, measures seven readings from a front and a side photo as angles and scores.
How often should I test my posture? Every four weeks is enough. Posture shifts slowly, so testing every day mostly shows small differences in how you stood. Use the same spot, clothes, time of day and phone height each time so the results are fair to compare.
Is a home posture test a diagnosis? No. It is a self-check that shows patterns, not causes. If you have pain or numbness, notice a sudden change, or see a big difference between your left and right sides, see a doctor first.
Before you start
- Do the one-leg stand next to a wall or a sturdy chair.
- Stretch to a gentle pull. Stop right away if anything hurts or tingles.
- Don't hold your breath. Breathe out as you push.
- In the first week it's fine to do just one set of each move.
- This is exercise guidance. If you have pain, numbness, dizziness or a sudden change in how you stand, see a doctor before you exercise.
Five minutes, four checks, one note on your phone. Put a reminder in your calendar for four weeks from today.
Bodycheck Care · Free
Take two photos and get moves picked for you
Take a front and a side photo to see how far your head and shoulders sit forward as a score, then follow moves picked for your result, each with a video.
References
- Photos: Pexels (free license). Exercise images and app screens: Bodycheck Care app.