A 4-Week Home Program for Hip and Pelvis Balance: Six Moves, Added Week by Week
A four-week home program for using both sides of your pelvis and hips evenly. Learn pelvic tilts and breathing first, then add glutes, side work and one-leg balance, and put it all together in week four.
Short answer: To use the muscles around your pelvis evenly, it's easier to add one move at a time than to start with everything. Week 1: pelvic tilt and breathing. Week 2: glutes. Week 3: side work and one-leg balance. Week 4: all of it together. Train three times a week, do the same reps on both sides, and compare your hip balance and pelvic tilt in photos every four weeks.

Hi, I'm an editor on the Bodycheck Care team. A while ago I was washing the dishes when someone in my family asked why I was standing like a flamingo. I looked down. My right foot was tucked against my left calf, and I was balanced on my left leg. It felt so natural I'd never noticed. When I tried it the other way, I couldn't hold it for long.
If you first want to look at whether your pelvis tilts to one side, start with our pelvic tilt self-check guide. This post is the next step: practice using your pelvis and hips evenly on both sides, split into a four-week program. You don't have to learn six moves at once. You add one or two a week.
Why split it into four weeks?
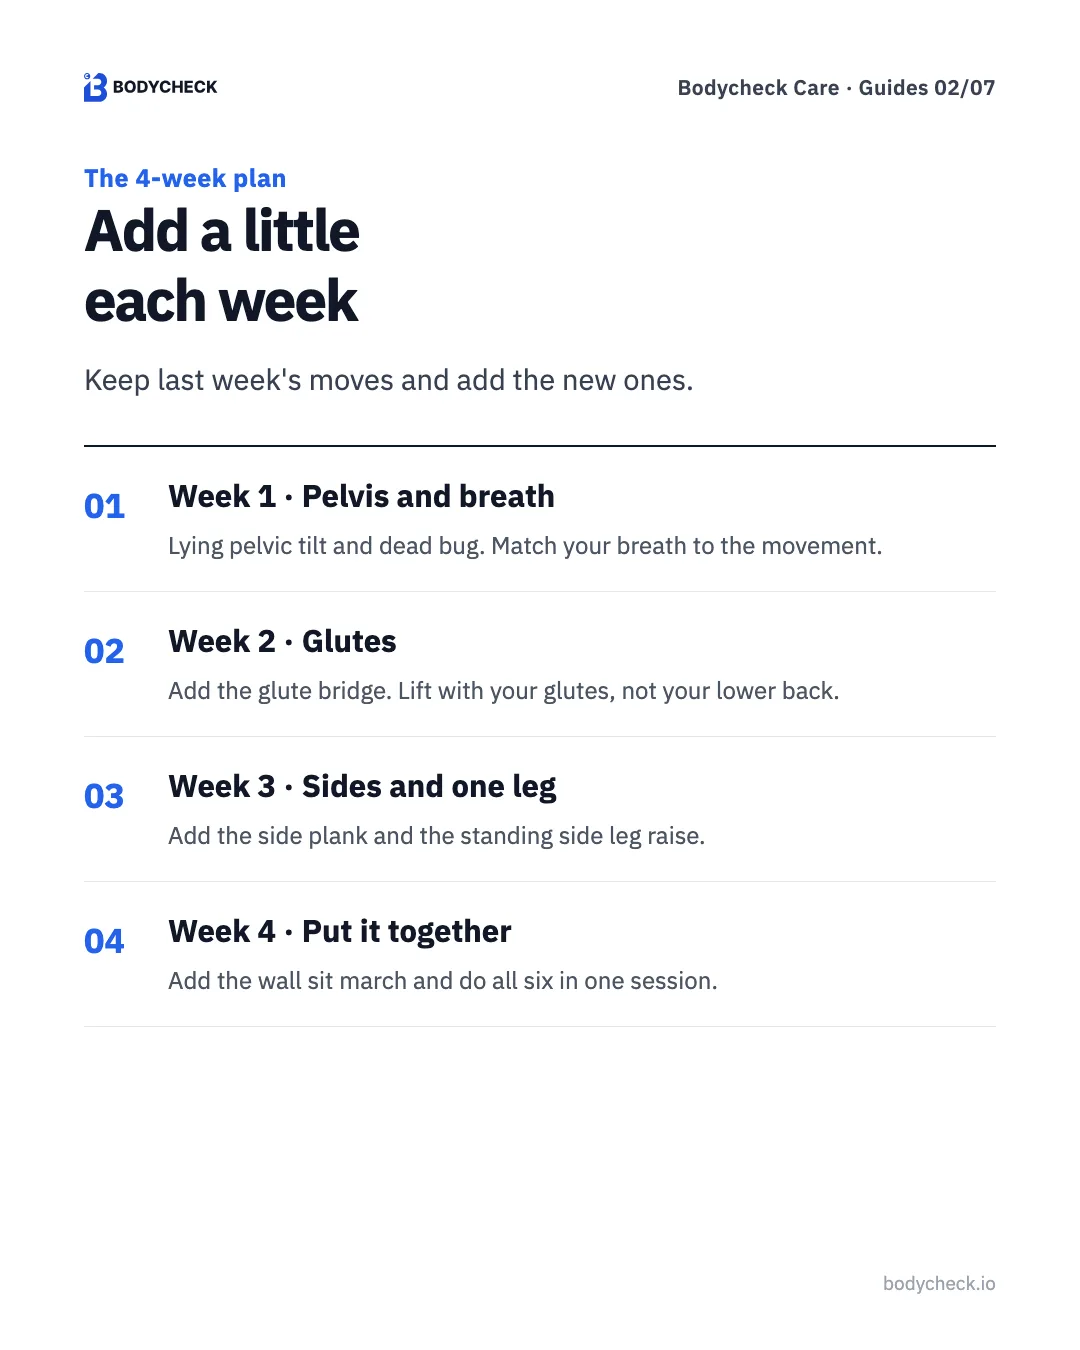
Start with six moves at once and it's hard to feel whether you're doing any of them right. So the plan keeps last week's moves and adds only the new ones.
- Week 1 · Pelvis and breath. Lying pelvic tilt and dead bug. Learn to tuck your pelvis as you breathe out. About four minutes a day.
- Week 2 · Glutes. Add the glute bridge. Use the tuck from week 1 to lift your hips.
- Week 3 · Sides and one leg. Add the side plank and the standing side leg raise. These work the muscles that hold your pelvis from the side.
- Week 4 · Put it together. Add the wall sit march and do all six in about 14 minutes.
Three times a week on alternate days, like Monday, Wednesday and Friday. If you miss a session or two, stay on that week a little longer instead of moving on.
What does doing it right feel like?
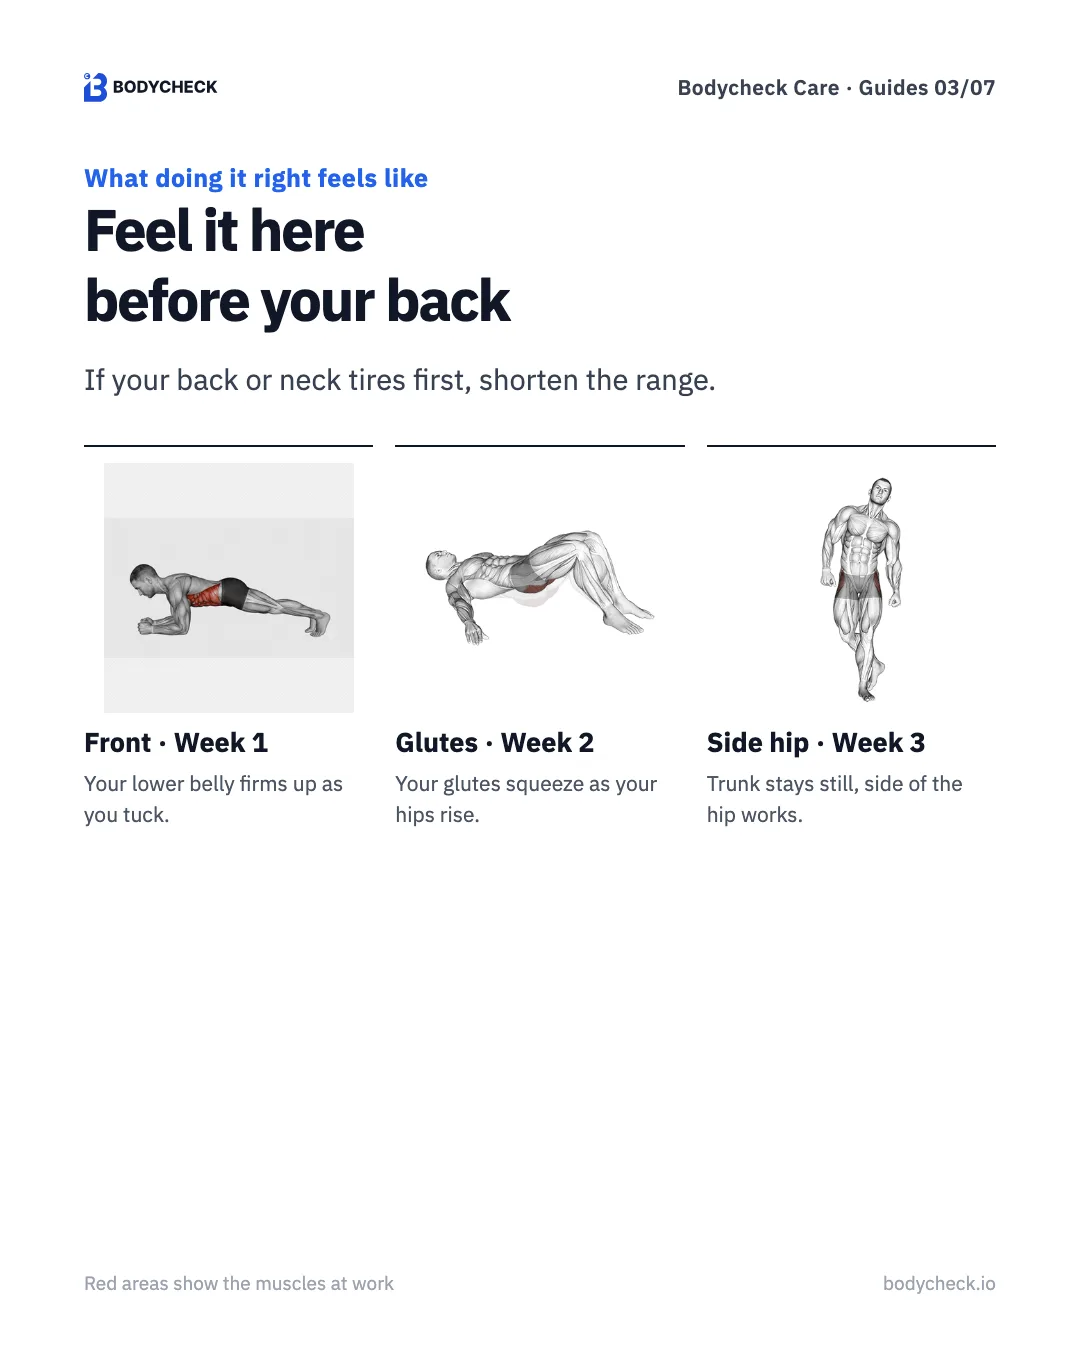
Pelvis moves are small, so it's easy to wonder if you're doing them right. I check by asking where I feel it first.
- Week 1, the front. As you tuck, your lower belly firms up and your lower back moves toward the floor. If your neck or shoulders tense, slow down and breathe out longer.
- Week 2, the glutes. As your hips rise, your glutes squeeze. If your lower back tires first, lift a little lower.
- Week 3, the side of the hip. In the side leg raise and side plank, the side of your hip and waist do the work. If your trunk leans with the leg, lift less.
If your lower back or neck tires first, take it as a sign to shorten the range. Feeling it in the right place matters more than working hard.
Why add one-leg balance in week 3?
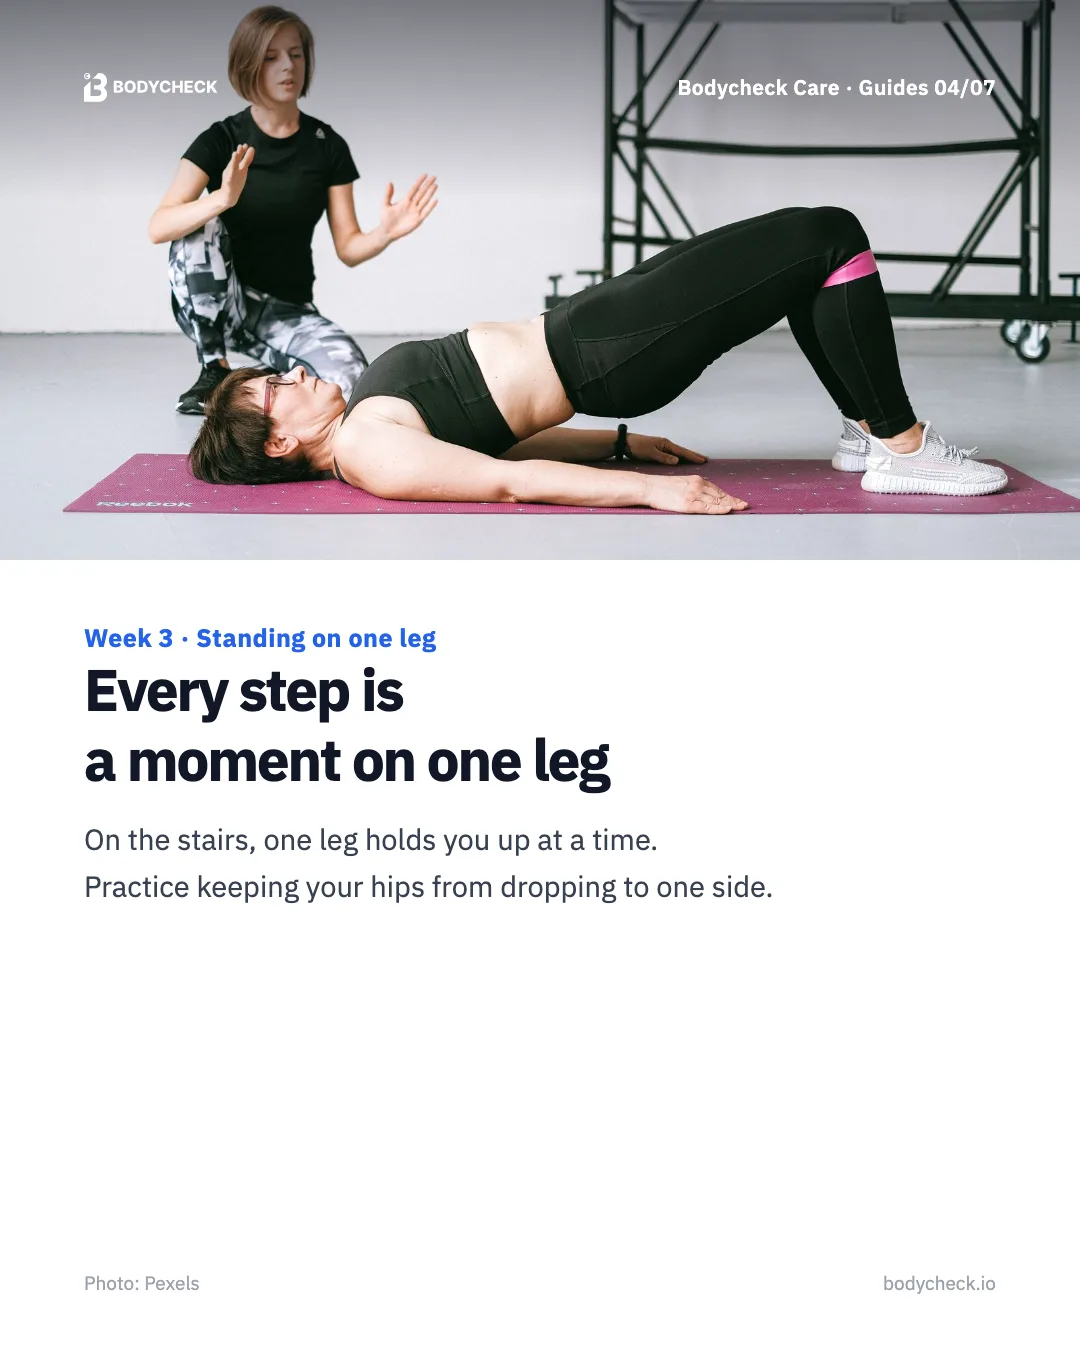
Every time you walk or climb stairs, you stand on one leg for a moment. In that moment, the muscles on the side of the standing hip keep your pelvis from dropping toward the other side.
That's why week 3 adds the standing side leg raise. Pay attention to the standing leg more than the one you lift. If your pelvis tips or your trunk sways, hold the wall and lift a little lower. And if, like my dishwashing stance, standing on one leg feels much easier on one side, write that down.
Should the harder side get extra work?
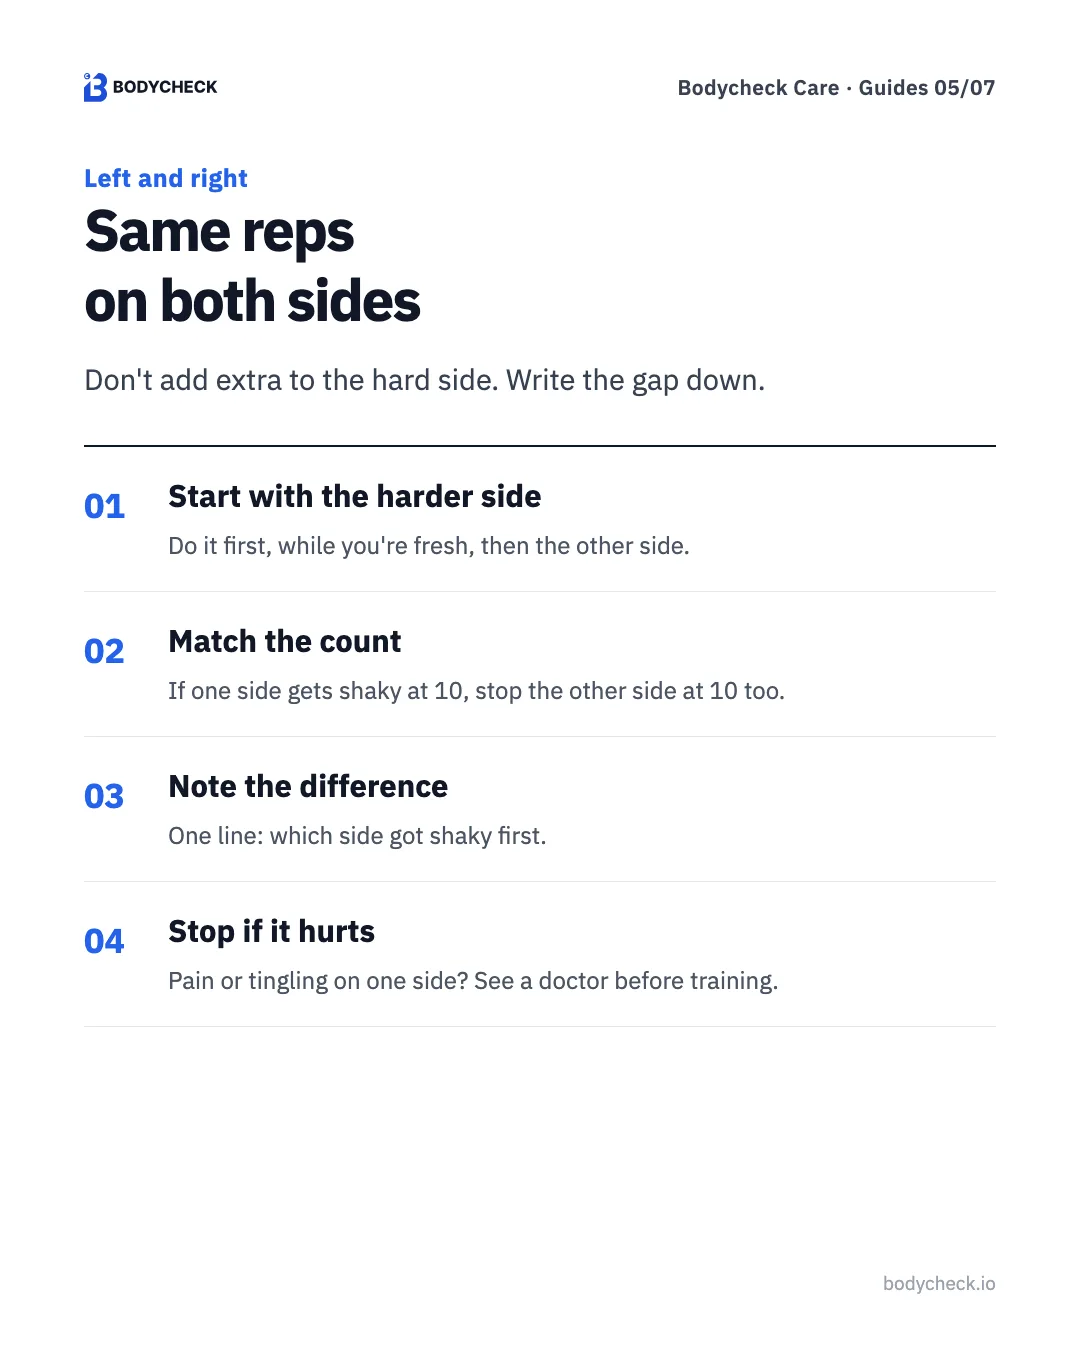
At first I thought I should do more on my weaker side. In this program the rule is the same reps on both sides.
- Start with the harder side. Do it first, while you're fresh, then the other side.
- Match the count. If one side gets shaky at 10, stop the other side at 10 too.
- Note the difference. One line: which side got shaky first. In four weeks you'll have something to compare.
- Stop if it hurts. Pain or tingling on one side means stop and see a doctor first.
How can you compare your pelvis in four weeks?
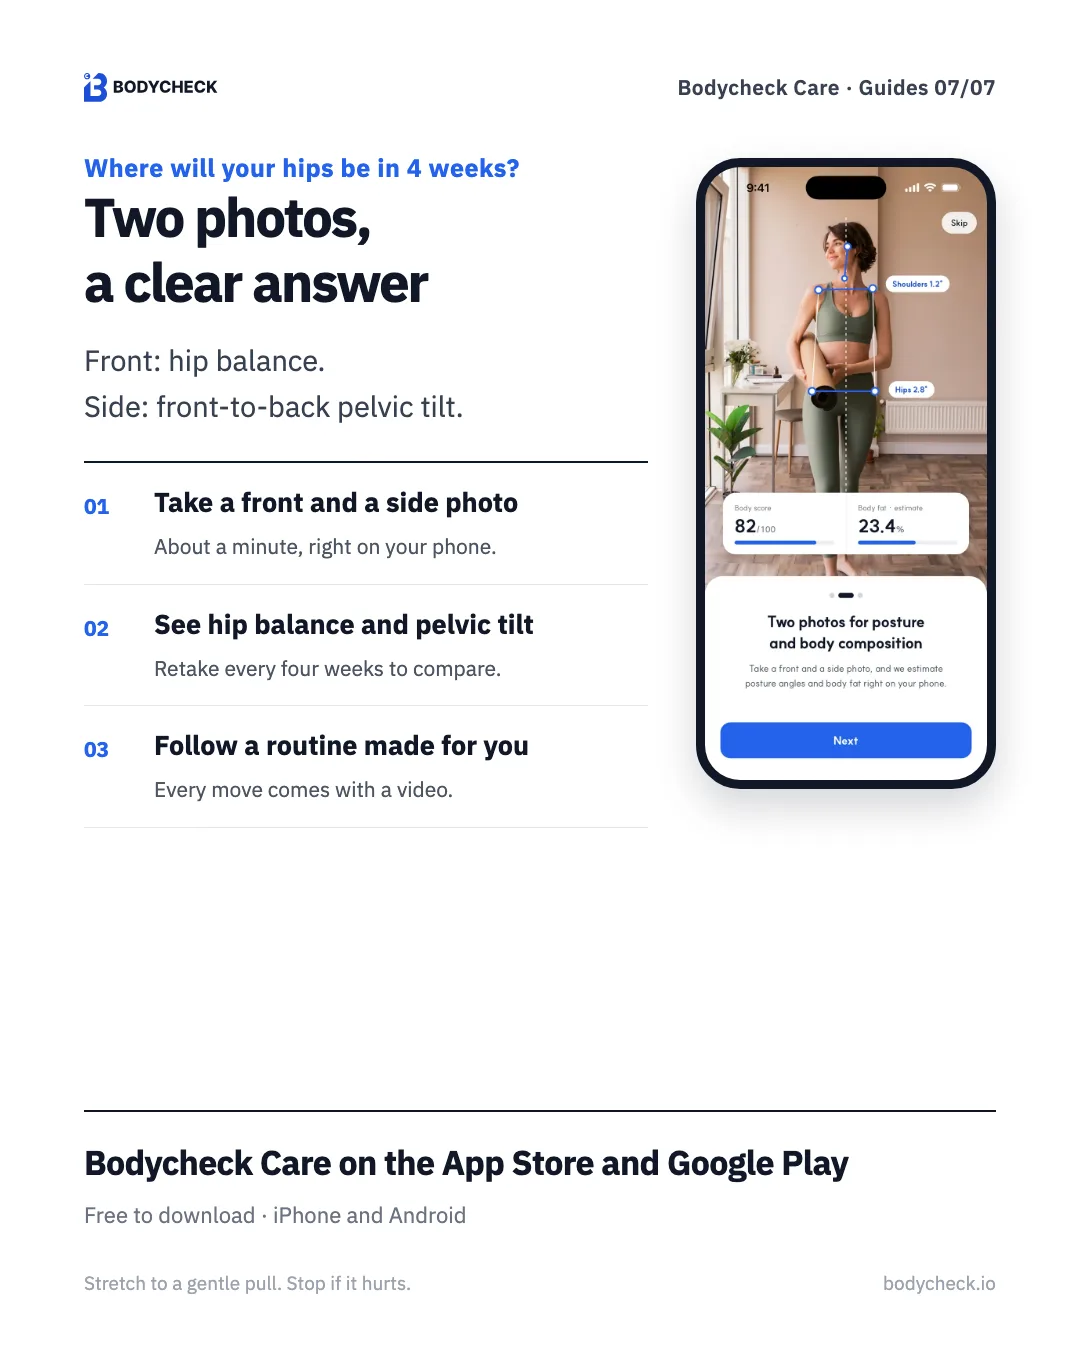
It's hard to compare today with four weeks ago from feel alone. In Bodycheck Care you take a front and a side photo. The app shows hip balance from the front and front-to-back pelvic tilt from the side, as angles and a score. I take one set before I start and another when week 4 ends.
- Before you start, take a front and a side full-body photo.
- See your hip balance and pelvic tilt as angles and a score.
- Follow the moves picked for your result, each with a video.
- Every four weeks, retake the photos in the same clothes and spot, and compare.
Bodycheck Care · Free
See your hip balance and pelvic tilt from two photos
Take a front and a side photo to see how far your head and shoulders sit forward as a score, then follow moves picked for your result, each with a video.
The six moves of the 4-week program
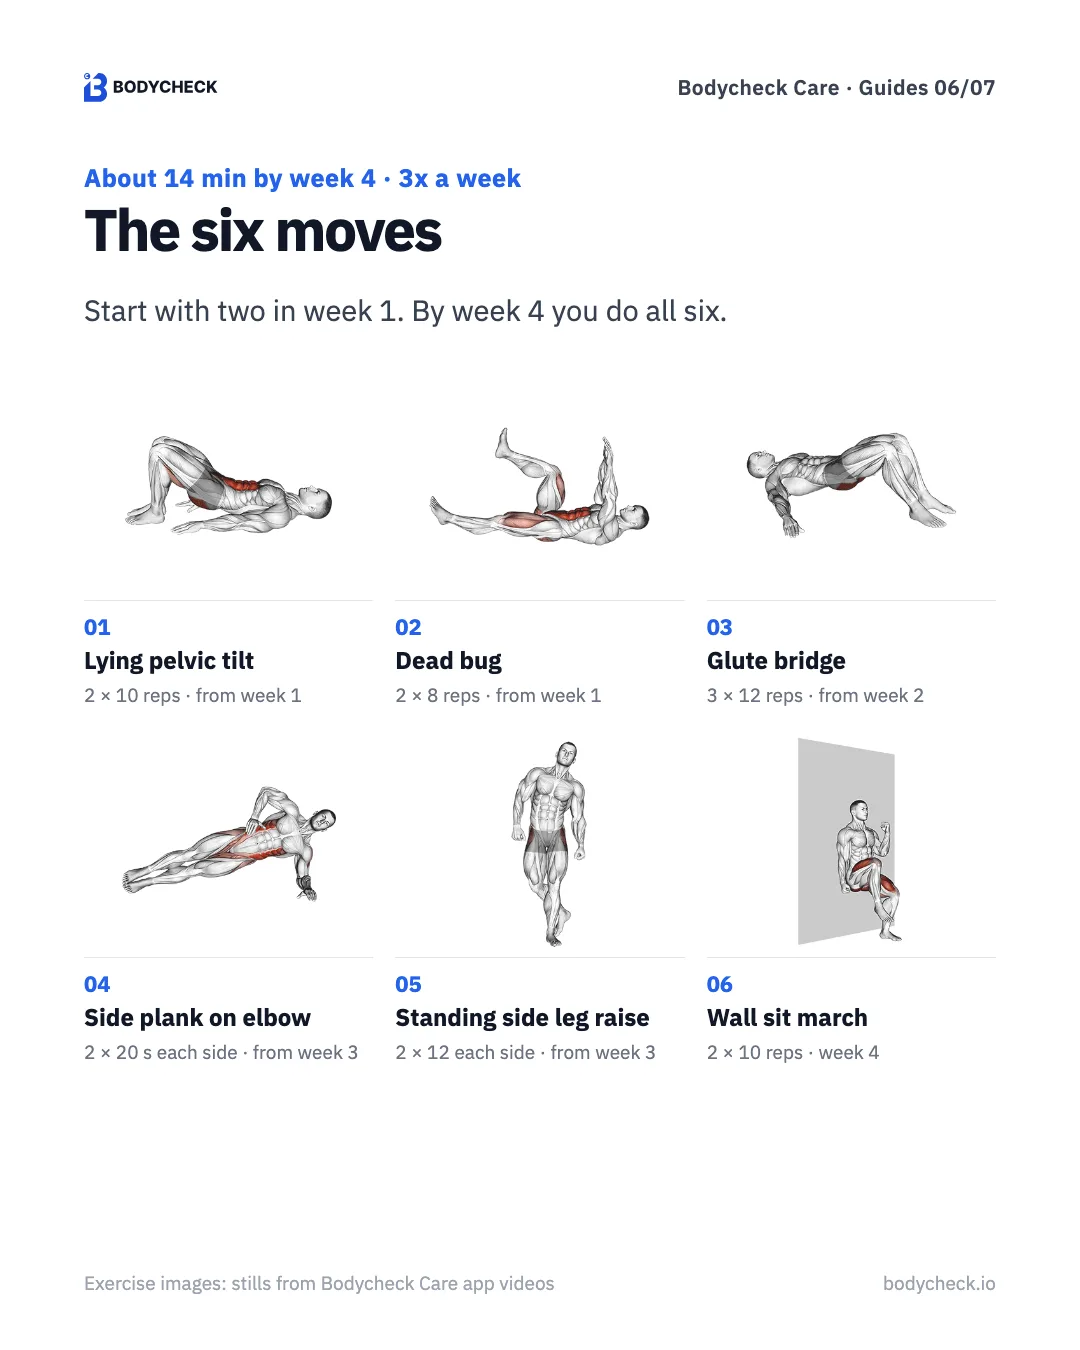
All you need is a mat and a wall. Start each move in the week shown and keep it from then on. So in week 3 you do moves 1 to 5, and in week 4 all six. Three times a week on alternate days, same reps on both sides.
1. Lying pelvic tilt · 2 sets × 10 reps · from week 1
- Lie on your back with knees bent and feet flat.
- Breathe out, brace your stomach and press your lower back toward the floor.
- Hold for two seconds as your pelvis tucks slightly.
- Breathe in, release, and repeat 10 times.
2. Dead bug · 2 sets × 8 reps · from week 1
- Lie with arms reaching to the ceiling and hips and knees bent to 90 degrees.
- Keeping your lower back on the floor, slowly reach one arm and the opposite leg out.
- Stop before your back lifts, then return.
- Alternate sides for 8 reps, four on each side.
3. Glute bridge · 3 sets × 12 reps · from week 2
- Lie with knees bent and arms by your sides.
- Push through your heels and lift your hips.
- Squeeze your glutes for one second with knees, hips and shoulders in a line. Don't arch your back.
- Lower slowly. Repeat 12 times.
4. Side plank on elbow · 2 sets × 20 s · each side · from week 3
- Lie on your side with your elbow right under your shoulder.
- Stack your legs straight.
- Lift your hips so your body forms a straight line from head to feet.
- Hold 20 seconds, then switch sides. Bend your knees to the floor if it's too hard.
5. Standing side leg raise · 2 sets × 12 reps · each side · from week 3
- Stand tall. Hold a wall with one hand if needed.
- Without leaning your trunk, lift one straight leg out to the side.
- Lift only as high as the side of your hip tightens, then lower slowly.
- After 12 reps, switch sides.
6. Wall sit march · 2 sets × 10 reps · week 4
- Stand with your back against a wall and feet hip-width apart.
- Slide down the wall to a comfortable depth. The deeper, the harder.
- From there, lift one foot slightly and set it down.
- Alternate for 10 reps. Watch that your pelvis doesn't tip as each foot lifts.
At a glance
| # | Move | Sets | Start |
|---|---|---|---|
| 1 | Lying pelvic tilt | 2 × 10 reps | Week 1 |
| 2 | Dead bug | 2 × 8 reps | Week 1 |
| 3 | Glute bridge | 3 × 12 reps | Week 2 |
| 4 | Side plank on elbow | 2 × 20 s · each side | Week 3 |
| 5 | Standing side leg raise | 2 × 12 reps · each side | Week 3 |
| 6 | Wall sit march | 2 × 10 reps | Week 4 |
The dead bug and side plank are especially hard to follow from text. In Bodycheck Care every move has a video, and the app counts the time and sets for you.
Frequently asked questions
What if I can't fit in three sessions a week? Don't move on to the next week. Stay on the same week a little longer. If four weeks turns into five or six, that's fine as long as you keep the order.
Week 1 feels too easy. Week 1 isn't about strength. It's about matching your breath to your pelvis. Try breathing out slowly for five seconds as you tuck. It takes more focus than you'd think.
One side is clearly harder. Should I do extra on that side? In this program, both sides get the same reps. Start with the harder side, and when it starts to get shaky, stop the other side at that same count. If you have pain or tingling on one side, see a doctor before you keep training.
Will four weeks straighten my pelvis? We can't promise that. This program is practice in using the muscles around your pelvis evenly on both sides. Bodies change differently, so we suggest taking photos under the same conditions every four weeks and comparing the numbers.
Can I see my pelvis as numbers? Bodycheck Care measures hip balance from a front photo and front-to-back pelvic tilt from a side photo, and shows them as angles and a score. You can retake the photos every four weeks to compare. It is free on iPhone and Android. It is not a medical device.
Before you start
- Work to a gentle pull or squeeze. Stop right away if anything hurts or tingles.
- Don't hold your breath. Breathe out as you push.
- In the week you add a new move, it's fine to do one fewer set of that move.
- This is exercise guidance. If you have pain or numbness in your back, hips or legs, see a doctor before you exercise.
Today, just the two week-1 moves. Four minutes is enough. Take a front and a side photo before you start, and in four weeks you'll have something to compare.
Bodycheck Care · Free
Take two photos and compare your pelvis every four weeks
Take a front and a side photo to see how far your head and shoulders sit forward as a score, then follow moves picked for your result, each with a video.
References
- Photos: Pexels (free license). Exercise images and app screens: Bodycheck Care app.