Core Exercises for Beginners at Home: How to Progress, Check Your Form and Breathe
New to core training? Start with easy moves on your back and level up one step at a time. Learn two quick form checks, when to breathe out, how to make each move easier or harder, and follow a 12-minute routine.
Short answer: Start core training with easy moves on your back, and only level up when your form holds. Check two things: in moves on your back, whether your lower back lifts off the floor; in holds, your hip height. Breathe out as you work. Do the six moves below for about 12 minutes, three times a week for four weeks.
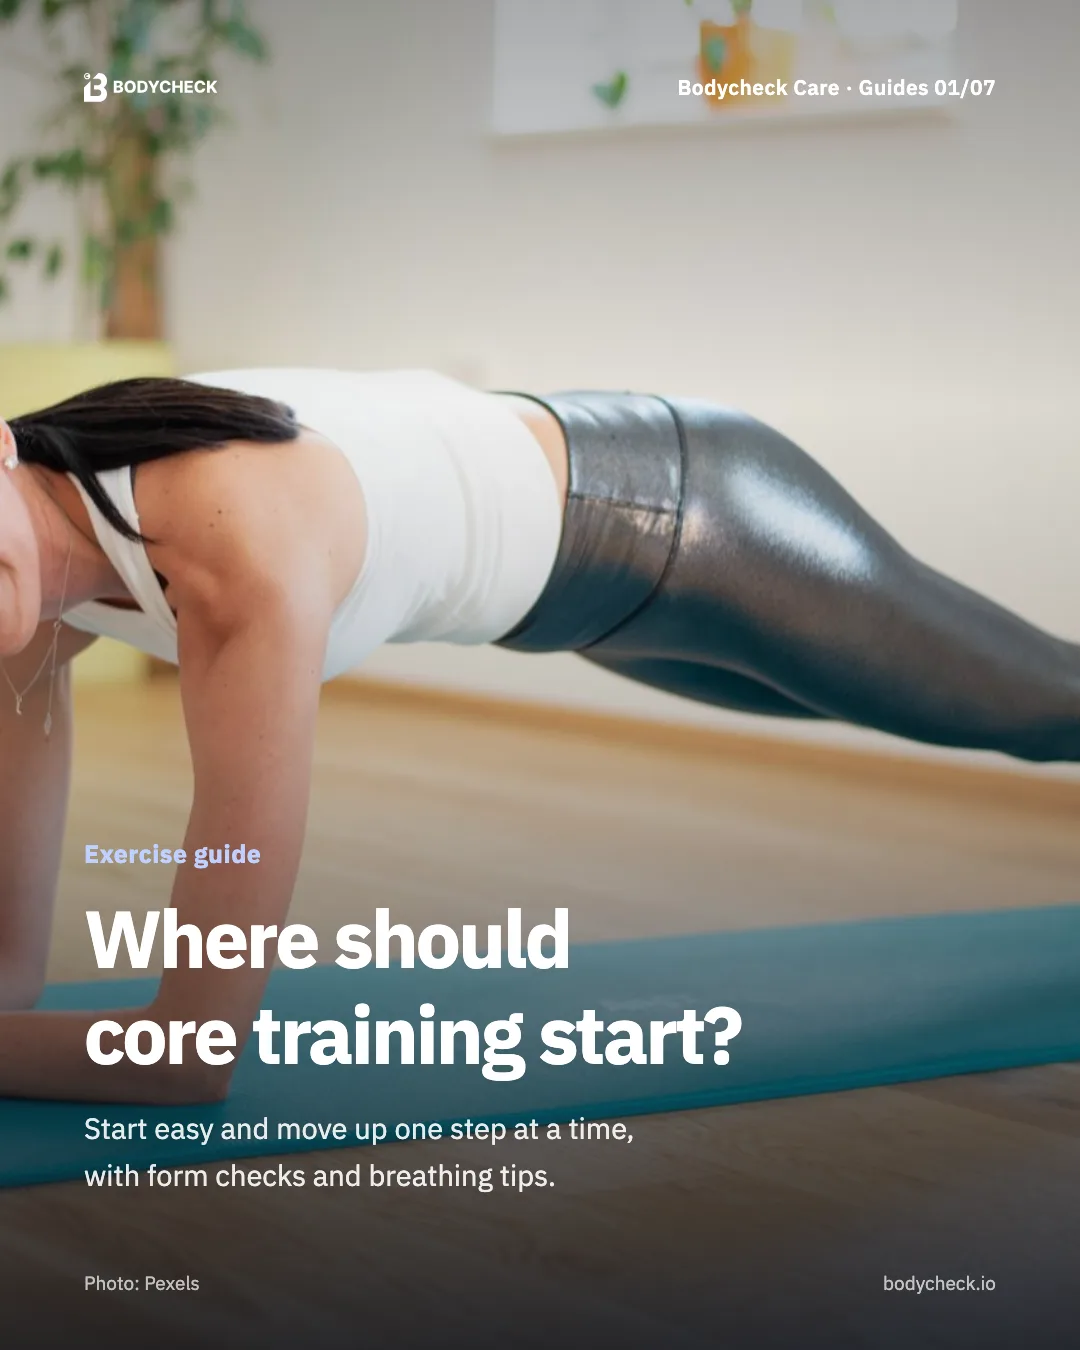
Hi, I'm an editor on the Bodycheck Care team. Most nights I roll out a mat in the living room after the dishes. Not long ago I was holding a plank when my sister looked over and said, "You know you can breathe, right?" I was so focused on holding on that I'd stopped breathing.
With core work, the hard part isn't the names of the moves. It's knowing whether you're doing them right, whether a move is too easy or too hard, and when to breathe. I covered sitting and the lower back in the 13-minute core routine. Today is for beginners: how to start easy and move up one step at a time.
How do you know you're doing it right?
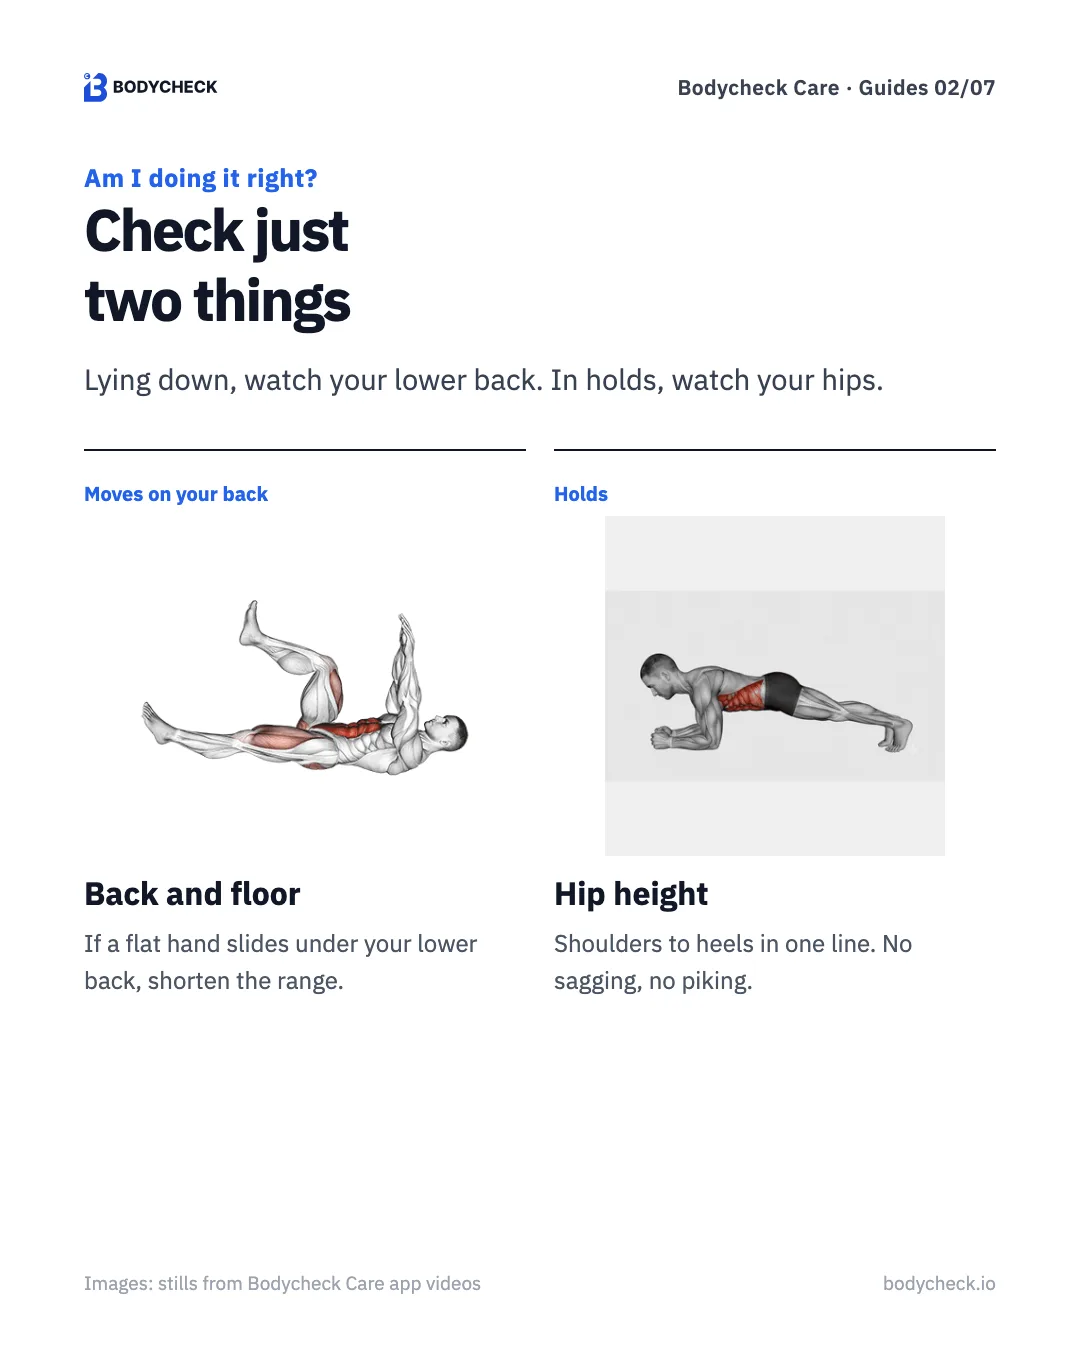
You don't need a mirror. Check just two things.
For moves on your back (dead bug, bridge), watch the gap under your lower back. Slide a flat hand under your back when you start. If the gap opens up as you reach, until your hand slides right through, your back has lifted. Reach less and come back.
For holds (plank, side plank), watch your hip height. Your shoulders, hips and heels should form one line. If your hips sag, your lower back takes the load. If they pike up, your abs get a break. A quick side-view photo on your phone shows it right away.
When should you breathe?
Like me, a lot of people hold their breath in holds. That pushes tension into your face and shoulders, so your neck ends up working harder than your trunk.
- Breathe in wide. Breathe in through your nose with your hands on your sides and feel your belly and sides expand.
- Exhale on the effort. Breathe out long through your mouth as you reach or lift your hips.
- Ribs down. As you exhale, let your ribs drop toward your waistband.
- Short, even breaths in holds. If you can say a few words mid-plank, you're breathing fine.
How can you make a move easier or harder?
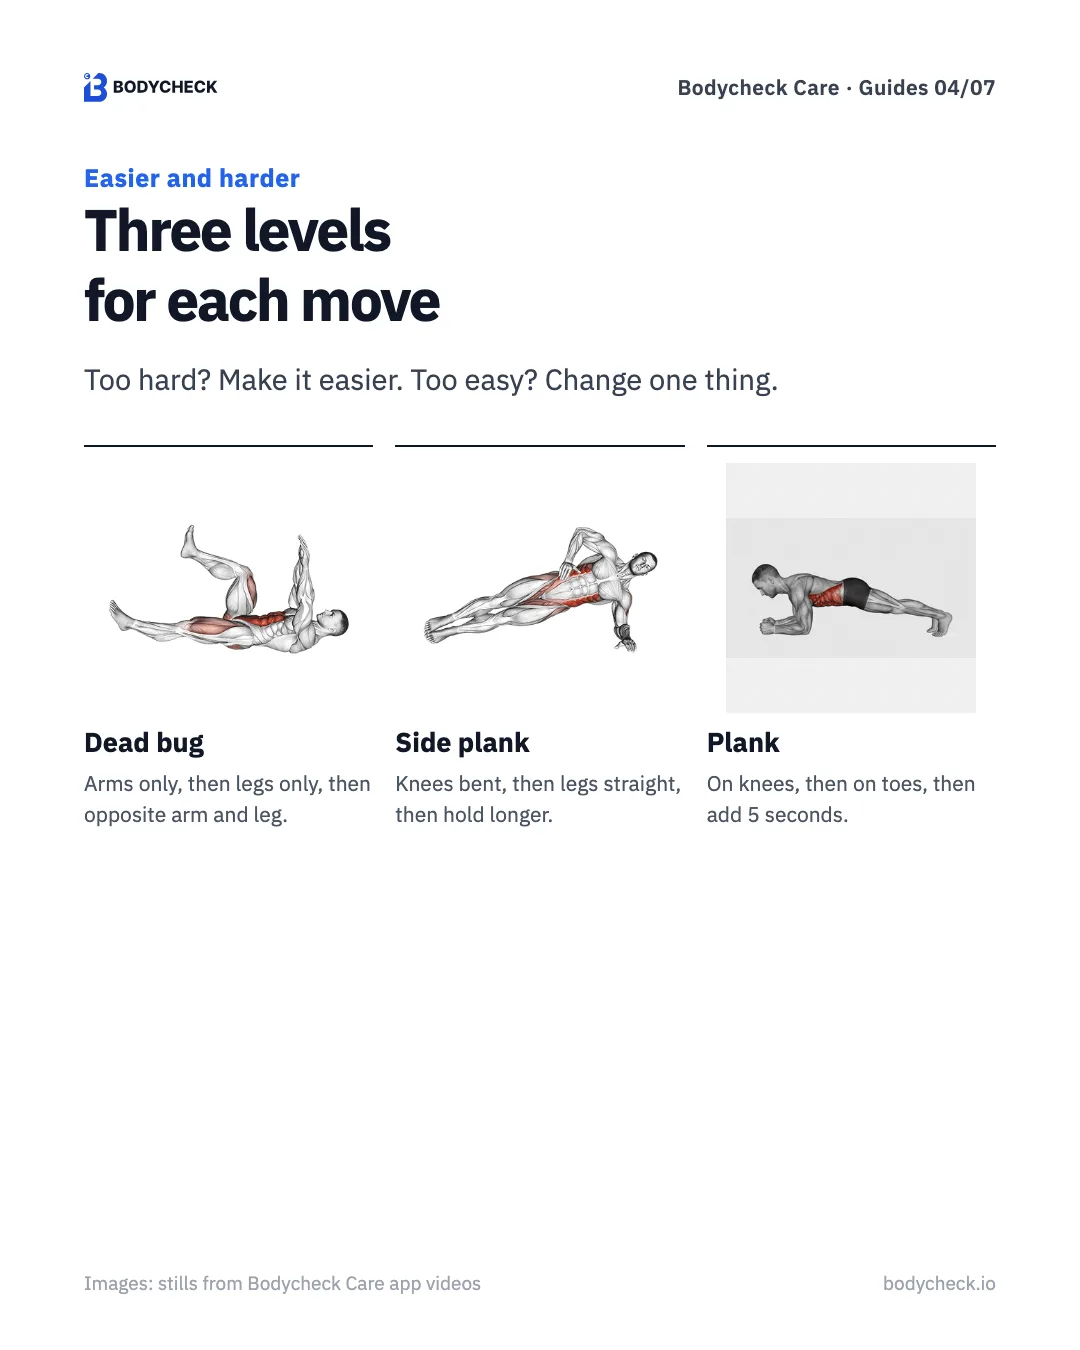
You don't have to switch exercises to change the difficulty. Here's how it works for three moves in today's routine.
- Dead bug: arms only, then legs only, then opposite arm and leg together.
- Side plank: knees bent on the floor, then legs straight, then hold longer.
- Plank: on your knees, then on your toes, then add five seconds a week.
The key is to change one thing at a time. If you straighten your legs and add time in the same week, it's hard to tell where your form broke down.
When should you move up a level?
I only move up when all three of these are true.
- My form holds through the last set. If the first set is fine but my hips sag by the last one, I'm not ready.
- My breathing stays even. I don't need to hold my breath to get through the hold.
- My back feels fine the next day. A little muscle soreness is OK. If my lower back feels uncomfortable, I go down a level.
Staying at one level for a week or two before changing one thing is usually plenty. Good form for longer beats moving up fast.
How can you see your hip tilt as numbers?
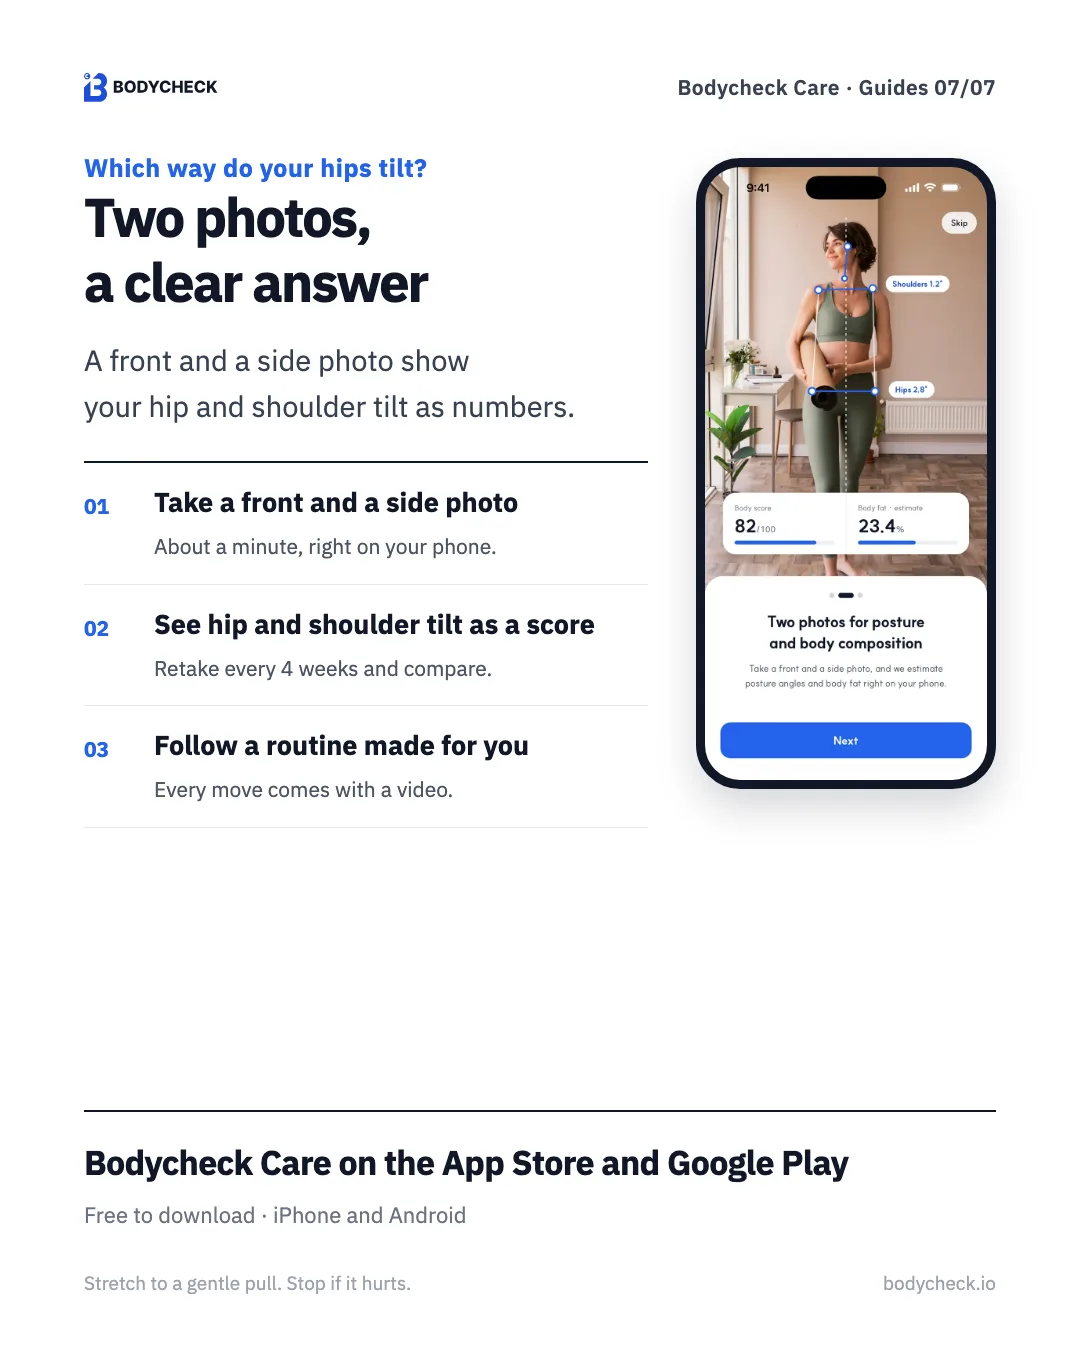
While you build trunk strength, it helps to see which way your hips and shoulders tilt right now. In Bodycheck Care you take a front and a side photo, and the app shows hip and shoulder tilt and pelvic tilt as angles and a score.
- Get the app and take a front and a side full-body photo.
- See your hip and shoulder tilt as a score.
- Follow the moves picked for your result, each with a video.
- Retake the photos after four weeks and compare.
Bodycheck Care · Free
See how your hips and shoulders tilt, from two photos
Take a front and a side photo to see how far your head and shoulders sit forward as a score, then follow moves picked for your result, each with a video.
The 12-minute beginner core routine
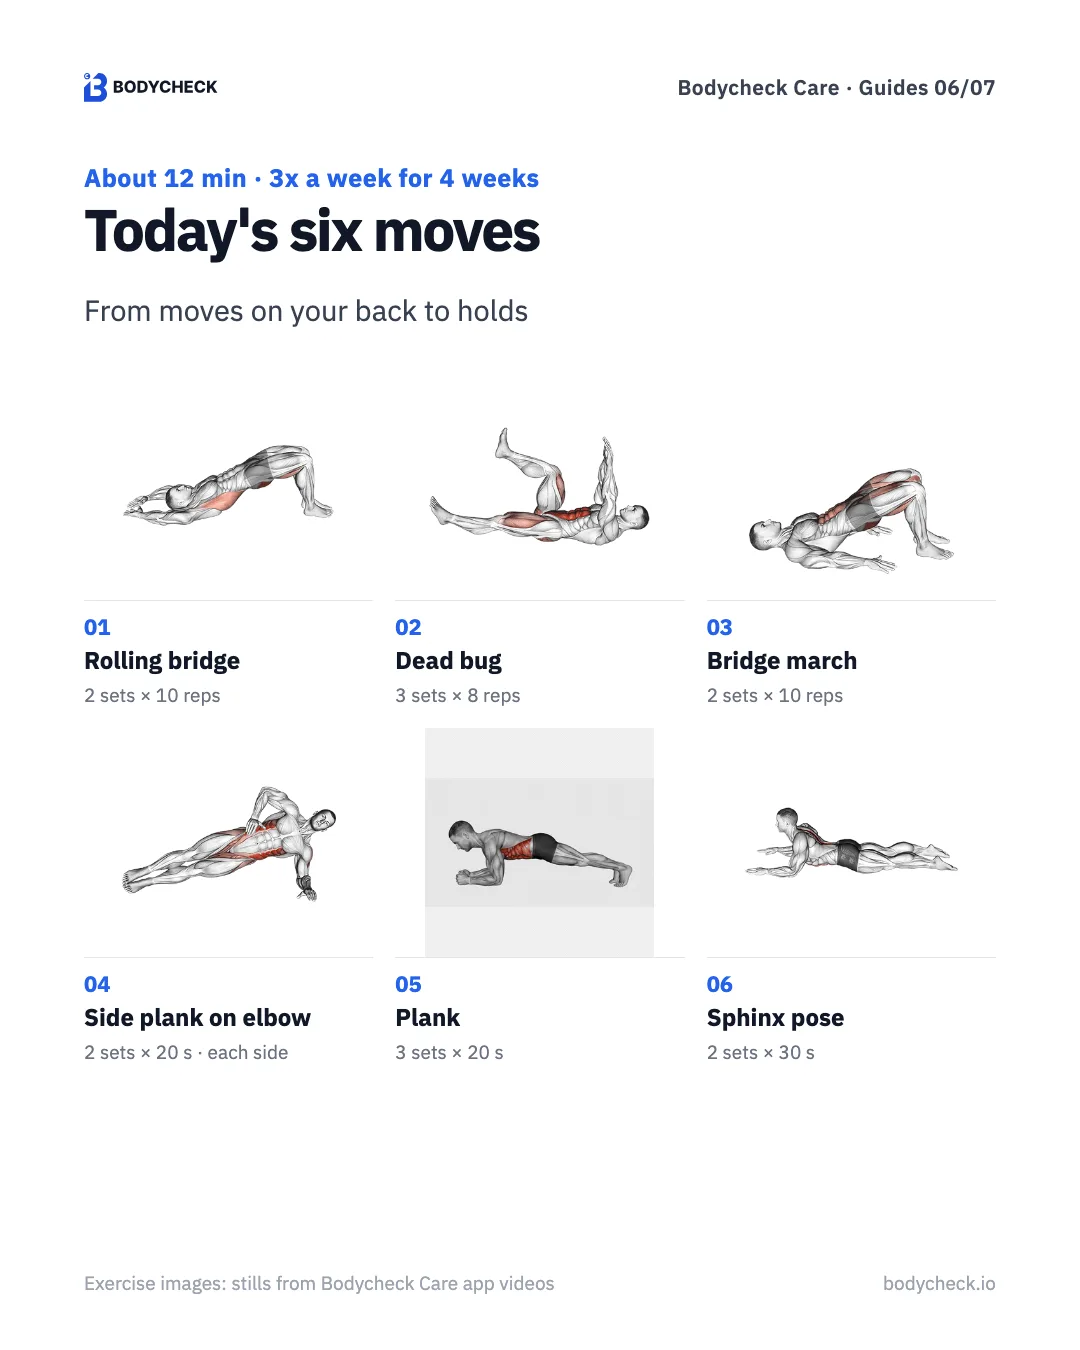
Start on your back, move to side and front holds, and finish with a gentle chest lift. One mat is enough. Do it three times a week on alternate days, for four weeks. I've added an easier or harder option for each move.
1. Rolling bridge · 2 sets × 10 reps
- Lie with knees bent and arms by your sides.
- Breathe out and tuck your pelvis slightly to flatten your lower back.
- Lift from your tailbone up, one section at a time, into a bridge.
- Roll back down the same way, back first. 10 reps.
To make it easier, lift your hips only a little. Feeling each part of your spine leave the floor comes first.
2. Dead bug · 3 sets × 8 reps
- Lie with arms reaching to the ceiling and hips and knees bent to 90 degrees.
- Keeping your lower back on the floor, slowly reach one arm and the opposite leg out.
- Stop before your back lifts, then return.
- Alternate sides for 8 reps.
To make it easier, move only your arms or only your legs. To make it harder, reach even more slowly.
3. Bridge march · 2 sets × 10 reps
- Lift your hips into a bridge.
- Keep your hips at the same height and raise one knee toward your chest.
- Lower that foot and raise the other.
- Alternate for 10 reps without letting your hips tip.
To make it easier, lift your foot just off the floor. If your hips tip to one side, end that set there.
4. Side plank on elbow · 2 sets × 20 s · each side
- Lie on your side with your elbow right under your shoulder.
- Stack your legs straight.
- Lift your hips so your body forms a straight line from head to feet.
- Hold 20 seconds, then switch sides.
To make it easier, bend your knees on the floor and lift only your hips. To make it harder, add five seconds.
5. Plank · 3 sets × 20 s
- Lie face down with elbows under your shoulders.
- Lift onto your toes so your body forms a line from head to heels.
- Brace your stomach and glutes and keep breathing.
- Hold 20 seconds.
To make it easier, drop to your knees. If your hips stay up through the last set, add five seconds a week.
6. Sphinx pose · 2 sets × 30 s
- Lie face down with elbows right under your shoulders.
- Brace your stomach lightly and lift your chest off the floor.
- Keep your neck long and look at the floor just ahead.
- Hold 30 seconds, then lower slowly.
Lift your chest, not your lower back. If your back feels uncomfortable, move your elbows a little forward to lower the height.
At a glance
| # | Move | Sets | Easier option |
|---|---|---|---|
| 1 | Rolling bridge | 2 × 10 reps | Lift your hips a little |
| 2 | Dead bug | 3 × 8 reps | Arms only or legs only |
| 3 | Bridge march | 2 × 10 reps | Lift your foot just off the floor |
| 4 | Side plank on elbow | 2 × 20 s · each side | Knees bent on the floor |
| 5 | Plank | 3 × 20 s | On your knees |
| 6 | Sphinx pose | 2 × 30 s | Elbows a little forward |
The bridge march and dead bug are hard to time from text alone. In Bodycheck Care every move has a video, and the app counts the time and sets for you.
Frequently asked questions
How often should I do core exercises? Three times a week on alternate days, for four weeks. Today's routine takes about 12 minutes. Rest days help you keep good form next session.
My lower back keeps lifting during the dead bug. Shorten the range. Start by moving only your arms or only your legs, and stop reaching before your back lifts.
How long should a beginner hold a plank? Let your form set the time, not the clock. Hold only until your hips start to sag, and drop to your knees if needed. If your form holds through the last set, add five seconds each week.
How should I breathe during core exercises? Breathe out long as you work, when you reach or lift your hips. In holds, don't hold your breath. Take short, even breaths. If you can say a few words, you're breathing fine.
Can I see whether my hips tilt? Bodycheck Care measures hip and shoulder tilt and pelvic tilt from a front and a side photo and shows them as angles and a score, then picks moves for your result. It is free on iPhone and Android.
Before you start
- Work to a feeling of effort, not strain. Stop right away if anything hurts or tingles.
- Don't hold your breath. Breathe out as you work.
- In the first week it's fine to drop one set from each move.
- This is exercise guidance. If you have numbness or pain in your back or legs, see a doctor before you exercise.
How about one plank today, just to notice whether you hold your breath?
Bodycheck Care · Free
Take two photos and get moves picked for you
Take a front and a side photo to see how far your head and shoulders sit forward as a score, then follow moves picked for your result, each with a video.
References
- The form checks and progressions in this guide are general exercise guidance. No statistics are used.
- Photos: Pexels (free license). Exercise images and app screens: Bodycheck Care app.